In this post, I explain how I saved thousands of dollars in tiny house costs without making any compromises. You will be pleasantly surprised.
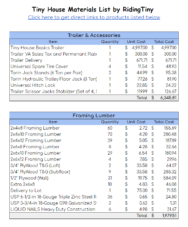
Get our FREE tiny house materials list to help estimate costs of your tiny home.
By entering your email address you agree to receive emails from Riding Tiny. We’ll respect your privacy and you can unsubscribe at any time.
Tiny House Roofing 101: Metal Roofing
- By Sang Kim
- Updated:
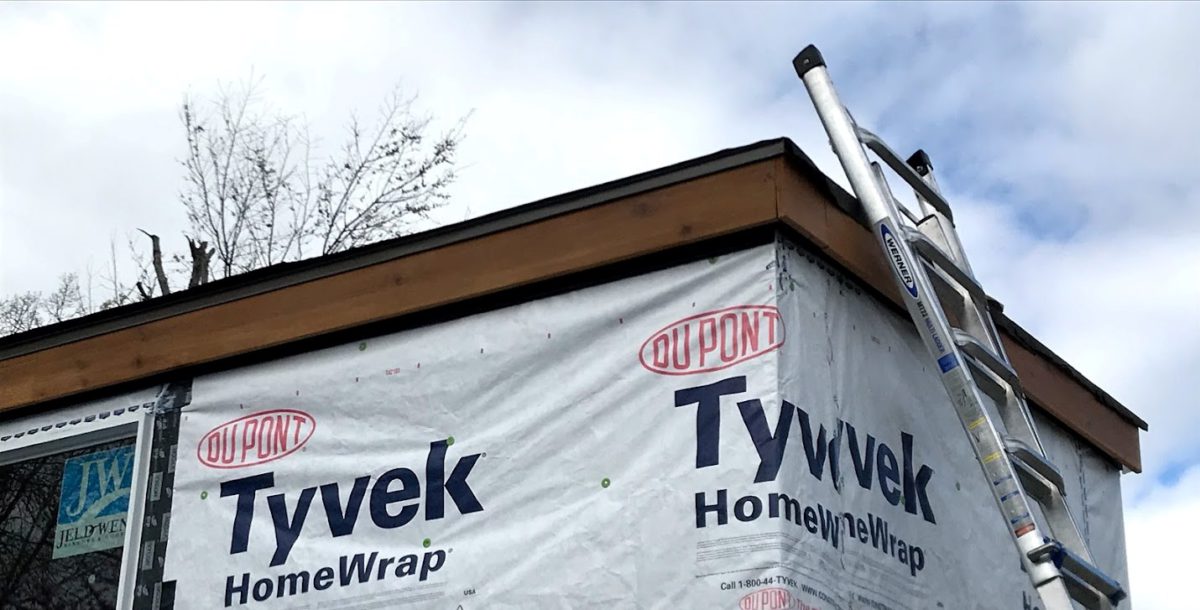
As part of weatherproofing, we’ve installed housewrap, windows, and a door so far. Now, it’s time to put a roof over your head and sleep peacefully knowing that your house is protected from the weather!
If you are new to Riding Tiny, welcome! Here you will find all the resources you will ever need to build your tiny home with your own hands. Check out the following pages if you haven’t already!
Table of Contents
Materials and Tools You Need
- Roof Underlayment – 216-sq ft
- Round Plastic Cap Nails
- Classic Rib Steel Roof Panel – 10 ft.
- Gable Flashing Trim – 5 in. x 10.5 ft.
- Gable Flashing Trim – 5 in. x 10.5 ft.
- Eave Flashing Molding – 5 in. x 10.5 ft.
- Outside Closure Strip Glued
- Inside Closure Strip Glued
- Single Bead Tape Roof Sealant
- Drip Edge
- Lap Stitch Screw – 1lb
- Self-Drilling Roofing Screws – 100-Count
Choosing a Tiny House Roof Style
When building your tiny home, the style of your roof can have a huge impact on the overall design. There are advantages and disadvantages to different styles of roofs and not all styles are feasible for tiny homes that will be towed.
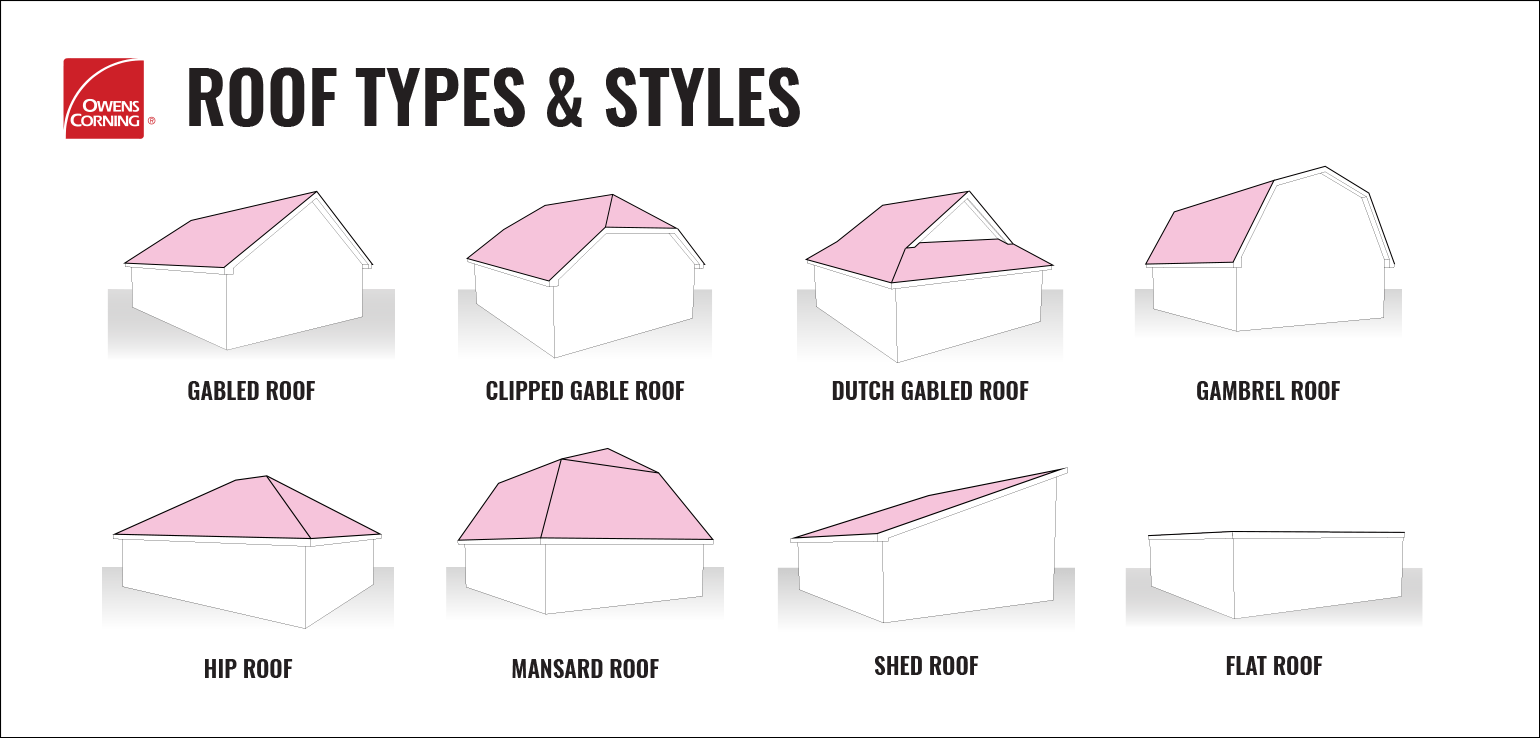
There are numerous styles of the roof you can choose from. But when it comes to tiny homes, you want to choose the simplest and most functional roof. Therefore, we will narrow our discussions to gable and shed roofs.
Gable roof
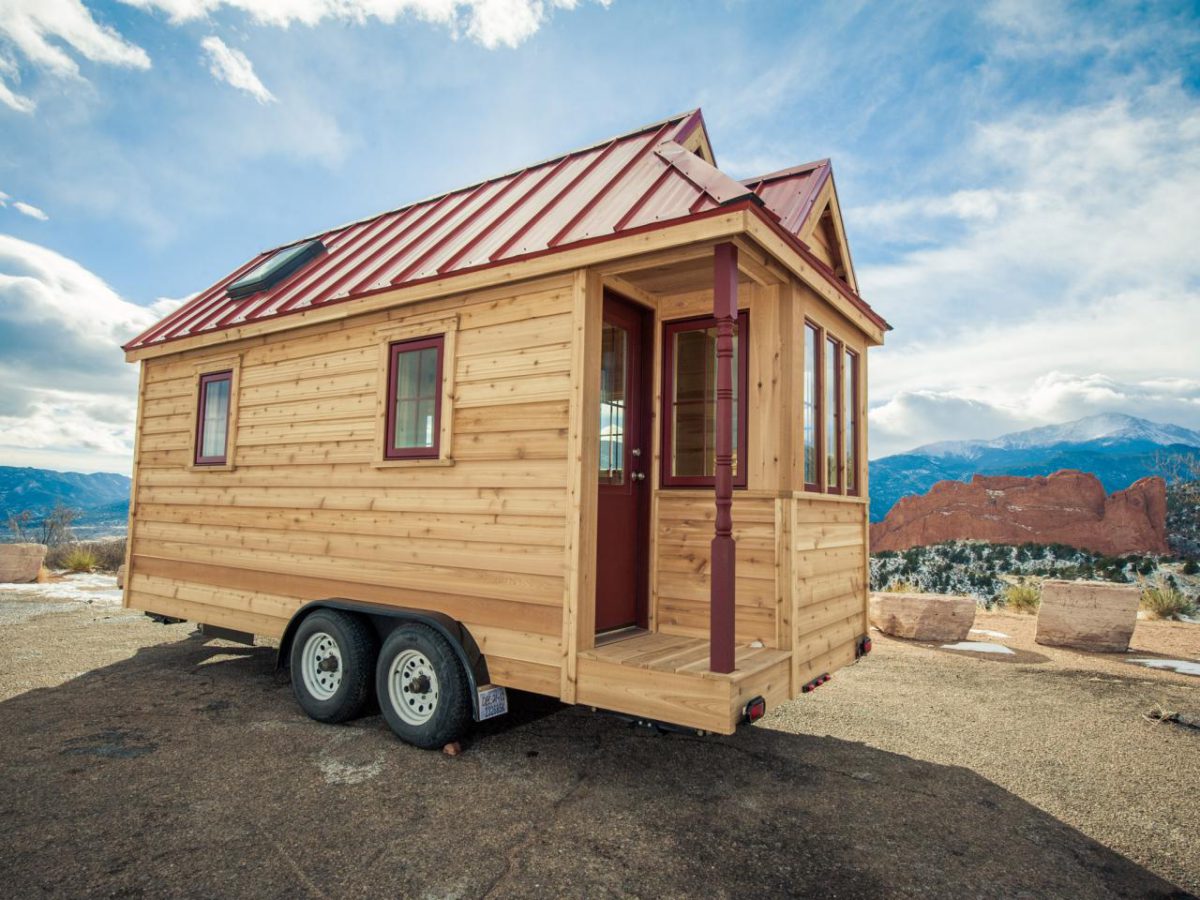
A gable roof is the most standard roofing style for regular and tiny homes. The roof has two sides that slopes towards the peak, creating a triangle shape.
One of the benefits of a gable roof is that it will make your tiny house look like a traditional home. However, it does not use space efficiently if you plan to include a loft in your tiny home. Also, it is technically more difficult to build than a shed style roof.
When building a tiny home for the first time, you want to reduce complexity involved when building. Simple design will reduce headaches, construction time, and elevate the level of finishing. For these reasons, we decided to go with a shed roof.
Note: Stick with a simple roofing style with minimum penetrations to your opening. This maximize your chance of preventing leaky roof and making your work easier.
Shed roof
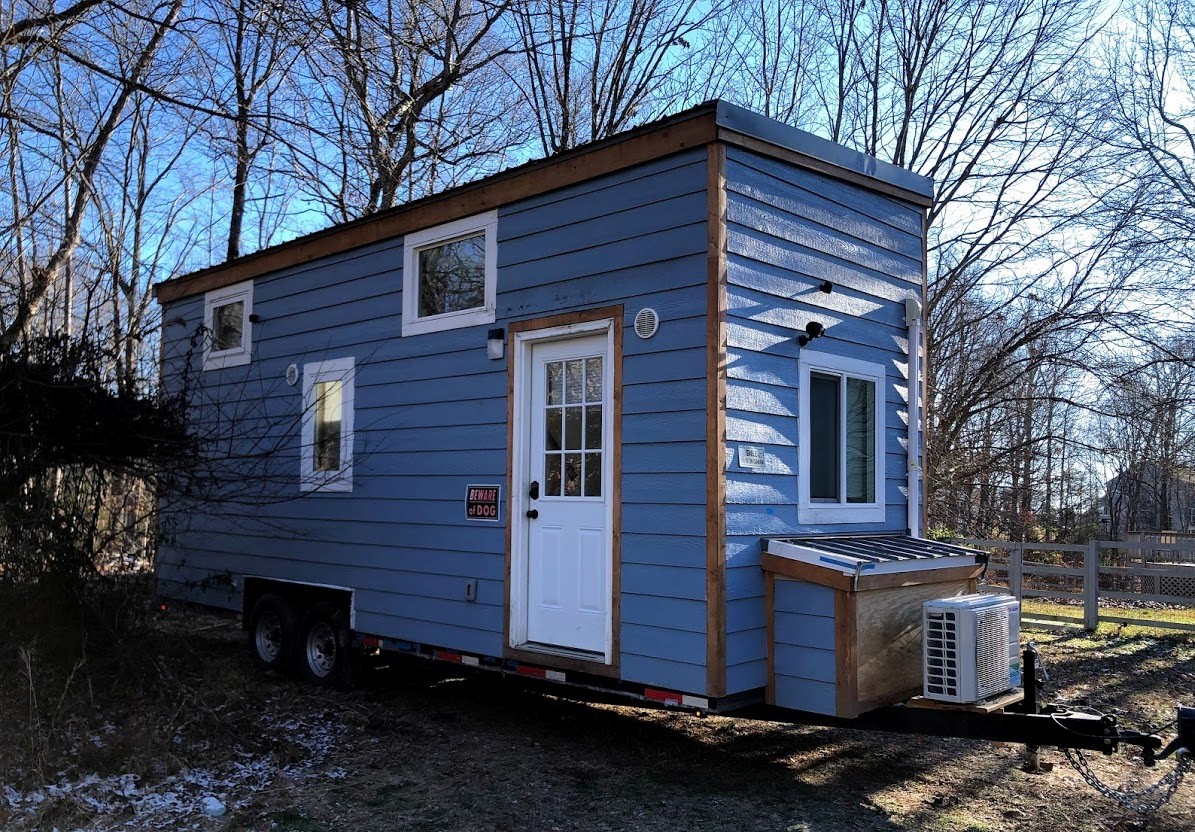
The shed roof refers to the type of roof that has a single pitch throughout the roof. To maximize vertical space, tiny house shed roofs will peak at the maximum legal road height at 13′ 6″.
Shed roof is simple to design and build for a DIY-builder like yourself and I. So it made sense for me to choose the shed roof design for my tiny home.
The Best Tiny House Roofing: Metal roofing
Simply put, metal roofing is the best option for a tiny home roof. Here are are the reasons why.
- Metal roofing is fire-resistant, weather-resistant, and energy-efficient.
- Metal roofing is lightweight and sturdy and can last 50 to 100 years.
- Metal roofing is quick and easy to install.
Although a bit more expensive than a traditional roofing option such as asphalt, a tiny house roof is small so investing in a metal roof makes financial sense.
Tiny House Roofing Installation
The process of installing roofing material is pretty straightforward. You should expect to finish this job in less than a day. However, I highly recommend getting some help (family, friends, neighbors, etc.) since it is dangerous to work by yourself on the roof.
Step 1: Install the roofing underlayment
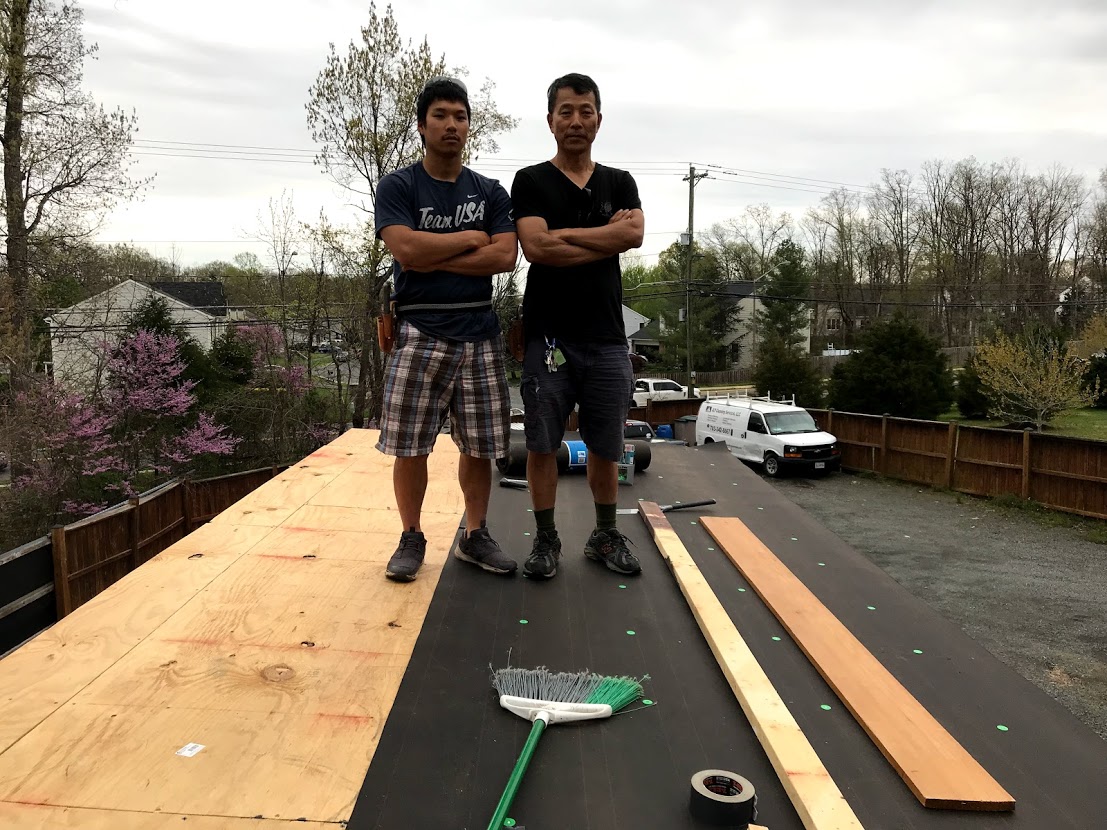
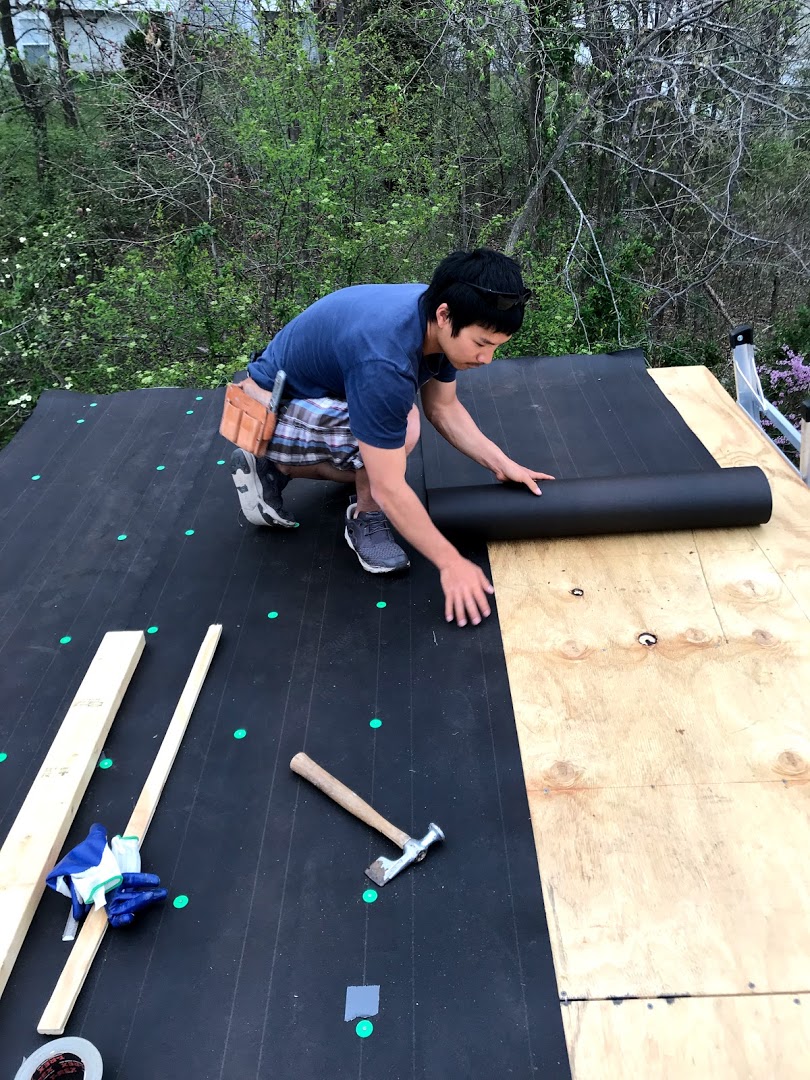
The most cost effective method of prepping your roof is using tar paper. Tar paper is a weather-resistant barrier that shields your home from rain, air, and moisture infiltration.
Cut the tar paper long enough to cover the entire fascia and the roof sheathing. Then, the tar paper is installed from the bottom edge of the sheathing to the top as shown in the images above.
The higher section of tar paper should overlap the lower sections by 6 inches. This pattern of overlapping prevents water from being potentially trapped between the tar paper and allow for natural drainage.
Use a hammer to place 1″ plastic round cap nails to the sheathing 24″ apart. Use additional plastic cap nails if you need to to ensure that tar paper is flat against the sheathing. Use Tyvek tape or sticky flashing materials to tape up any tears while you work on your tar paper.
Step 2: Install the bottom drip edge
Drip edge is a metal sheet that has a bent edge that directs water away from the fascia board. The drip edge must be installed underneath the roofing underlayment to allow for better water drainage.
Now, cut the drip edge to the length of the roof plus 6 inches to allow 3 inches to wrap around the eave. Cut the drip edge in the pattern shown in the video below.
When you need multiple drip edges to cover the entire eave of your roof, overlap the drip edges by 6 inches and drive a nail at the overlapped location.
You must cut a bit of flap to allow two drip edges to overlap smoothly without creating a gap. Take a look at the quick video below on how to do this exactly.
Step 3: Install inside closure strips

Begin by laying a row of tape sealant on top of the drip edge. Sealant should be placed at least 1″ away from the bottom edge of the drip edge. Proceed to attach the closure strips on top on the sealant.

Step 4: Install metal roofing panels

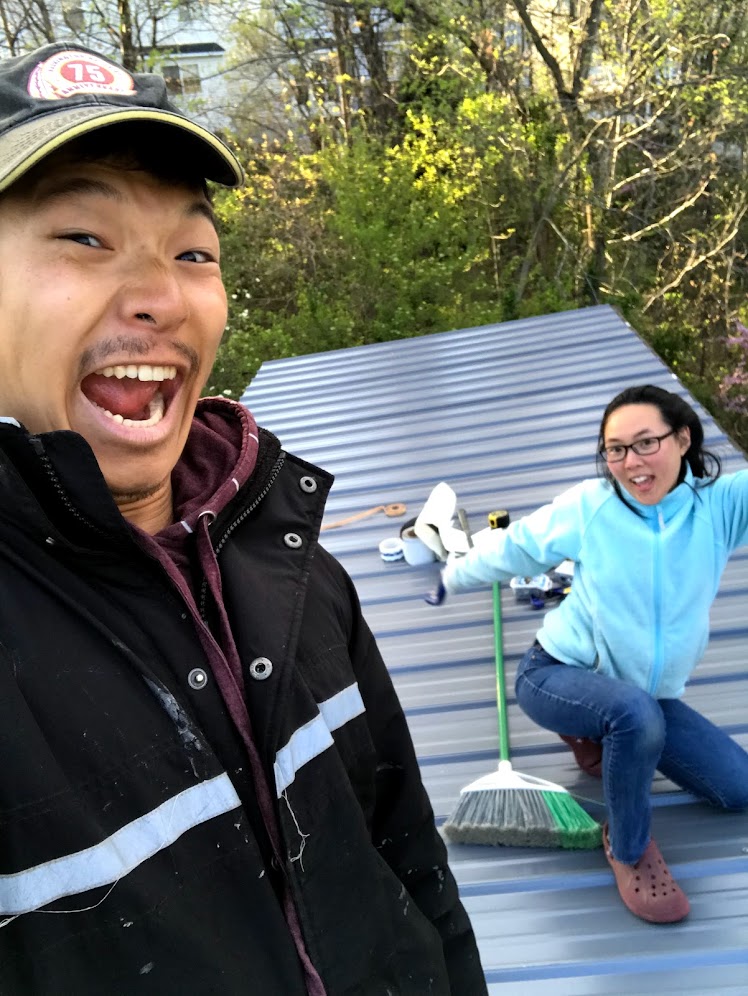
First, lay a single sheet of metal rib panel and line it up to the edge of the roof sheathing. Overhang the roofing panel by at least 2″ to allow for water to shed away the fascia. Drive two screws into the panels as shown below.
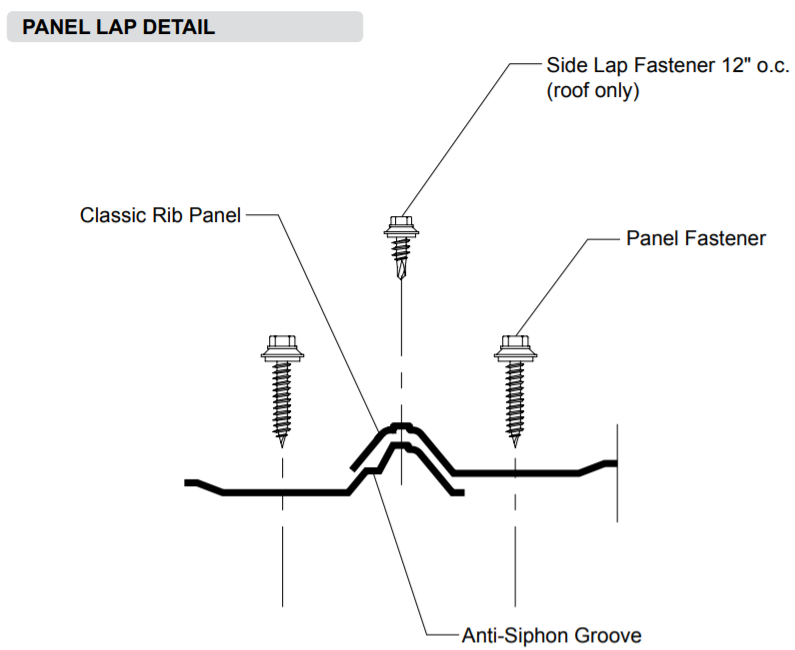
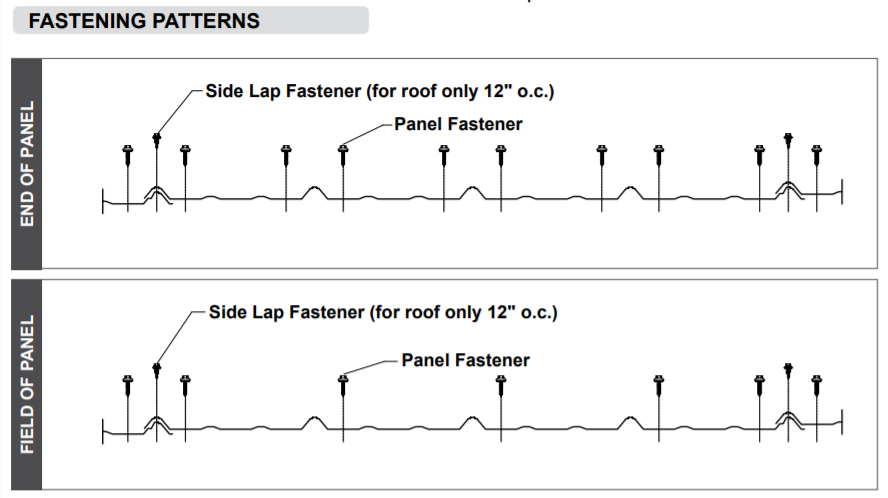
Drive metal-to-wood screws into the panels in the fastening patterns shown above. But remember, depending on which roofing product you buy, the installation procedure may be slightly different. Therefore, always follow the installation manual provided by the manufacturers.
Overlap the rip panels at the edges and repeat the steps outlined above until entire roof is covered with metal roof and properly fastened.
Step 5: Install gable flashing trims
Gable flashing is the flashing attached to the gable ends of the roof. Gable flashing, along with proper sealant, help create a water-tight roofing system. Follow the instructions as shown in the video below.
Step 6: Install outside closure strips and the peak flashing
Lay a row of tape sealant 2″ from the top edge of the roofing panel. Attach a row of outdoor closure strips onto the tape sealant. Lay another row of tape sealant on top of the closure. You are now ready to install the peak flashing to finish the metal roofing installation
Attach stitch screws where the peak flashing and peak of the ribs meet. Use metal-to-wood screws to attach peak flashing against the fascia board. Finally drive one metal-to-wood screw through the corner of the peak flashing, gable trim, and into the fascia board to hold everything together.

Sang Kim is the founder of Riding Tiny® and has been active in the tiny house scene since 2018. Since then, his mission is to help people plan and build their dream tiny homes. And each year, he continues to help more people on the path to simple living and financial independence. Follow Sang's journey @ridingtiny
Get our FREE tiny house materials list to help estimate costs of your tiny home.
By entering your email address you agree to receive emails from Riding Tiny. We’ll respect your privacy and you can unsubscribe at any time.
Recommended Reading
If you’re wondering how to estimate tiny house costs, wonder no more! It’s not as difficult as you may think!
Learn how to build a tiny house on wheels from scratch, step-by-step! Here, are all the resources you need to build yourself a tiny house.
Have you wondered how much it costs to live in a tiny home, per month? Well I go over the numbers and spill all the juice. Check it out!
Do you know how to level a trailer? Are you sure? Get perfectly leveled tiny home trailer by learning the know-hows in a few easy steps.
How does a composting toilet work in a tiny house? And how do you decide which one is the best? In this post, we got all the answers for you.